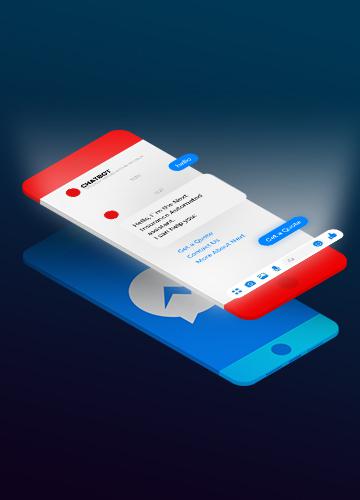
How to Create a Facebook Messenger Chatbot
A novice’s guide to quickly set up a Facebook chatbot without coding in less than one hour
Since Mark Zuckerburg announced the service in 2016, businesses of all sizes have turned to Facebook’s messenger application to build custom bots for their customer base. In this article, we’ll discuss the emergence of chatbots as an effective marketing tool and outline the simple steps you can take to create your own virtual assistants.
How is it used in Marketing?
A messenger chatbot is an incredibly effective cross-promotion marketing tool. Their flexibility allows them to be implemented by a range of businesses operating in any industry. Some of the world’s most well-known companies and largest conglomerates utilise the simple tool as part of their customer service and marketing strategies. McDonald’s, Disney, Under Armour and Nike are just a few examples of companies that use chatbots to aid their customer engagement.
Chatbots are diverse and can be created by coding experts and novices alike; with or without machine learning AI – it’s up to the creator and their budget.
Step-by-Step Guide
This process is to be done using Chatfuel, as its build is the simplest to use.
1. Connect to the chatbot builder
First, you should connect your Facebook account to your chosen chatbot platform. In this case, we are using Chatfuel, as it’s the easiest to use compared to its competitors. After authorising Chatfuel by following the on-screen instructions, you can select the Facebook page you want to connect to.
Your chatbot needs to be linked to a business page. You cannot set up a chatbot that is linked to an individual's Facebook account. If you don’t have a Facebook page for your business, you should set one up before continuing.
2. Create your welcome and default messages
Your welcome message is the first user interaction your visitors will have with the chatbot. This should be a simple message in two parts:
⦁ A simple, introductory message that outlines the primary function of the chatbot.
⦁ A follow-up question similar to, ‘How can I help?’
Your default message will be automatically sent when the user types in something your bot doesn’t have AI detection for. This will be a message that includes options for the user to follow up with:
⦁ ‘I’m not sure what you’re asking. One of the options below might help'
⦁ Include relevant options to continue the conversation.
3. Set up your conversation navigation
Set up ‘blocks’ to deliver your chatbot’s instant messaging. The user will usually have questions relating to key areas regarding location, directions, opening and closing times and price. A ‘block’ is required for each of these questions, and the knowledge base of your chatbot improves with each block that is added.
After setting up your blocks you can link them to the main navigation. Add them to the welcome message and the user can select after a relevant question is asked. The block will take the user to the associated block.
You can also include URL links to an external website or your company phone number. Include this if your website has a booking or reservation system.
4. Enter your chatbot dialogue
Cards: text, typing, quick reply, image, gallery, go to block, go to sequence
There are various ‘cards’ you can apply to the text. Each card has a particular function that will alter the text in a specific way, depending on your desired approach to customer experience. For example, the ‘typing’ card will simulate a human typing response by showing dots to create this effect. This façade provides a relatable experience for users, as though they are conversing with a human as opposed to a chatbot.
Chatbots provide real-time results. This works by the bot recognising user queries and responding with pre-made text. Click on the block you wish to enter text for and an empty box will appear on the right-hand side. For example, when selecting directions, you can add the relevant information in the empty box.
5. Create your artificial intelligence
After completing your content blocks, click ‘Set up AI’ on the left-hand navigation column. You can enter new text for your customers or direct them to your existing content blocks. The text you enter will be the answers to any possible questions your chatbot will have to deal with. It’s best for natural language processing to brainstorm as many outcomes as possible to provide the user with a seamless and conversational tone.
6. Launch your chatbot
We used Chatfuel in our example because, as we previously mentioned, it’s the easiest platform to use. Your changes are being continuously saved and made live by the programme so you don’t have to worry about losing your work. Simply copy and paste the URL from the ‘promote’ page in the navigation menu to your website.
Voila, your chatbot is now live! You are now the proud creator of a simple chatbot without the need for code or any other deep-learning requirements. This is what makes chatbots special – they are flexible and accessible to people of any skill level.
